
When choosing your pumpkin, keep in mind that not all pumpkins are created equal.
Bigger is not always better and not all pumpkins are orange. Look for a shape that will accommodate your carving and decorating ideas. Tall, oblong-shaped pumpkins tend to be stringier on the inside, making cutting more difficult. White pumpkins can be painted more easily than orange pumpkins. Avoid pumpkins with soft spots, bruising and nicks that can lead to rotting, and instead look for firm and healthy. Tap the pumpkin and listen for a slightly hollow sound. Look for one that has a good well-balanced base. Carry the pumpkin you choose by the base, not by the stem.
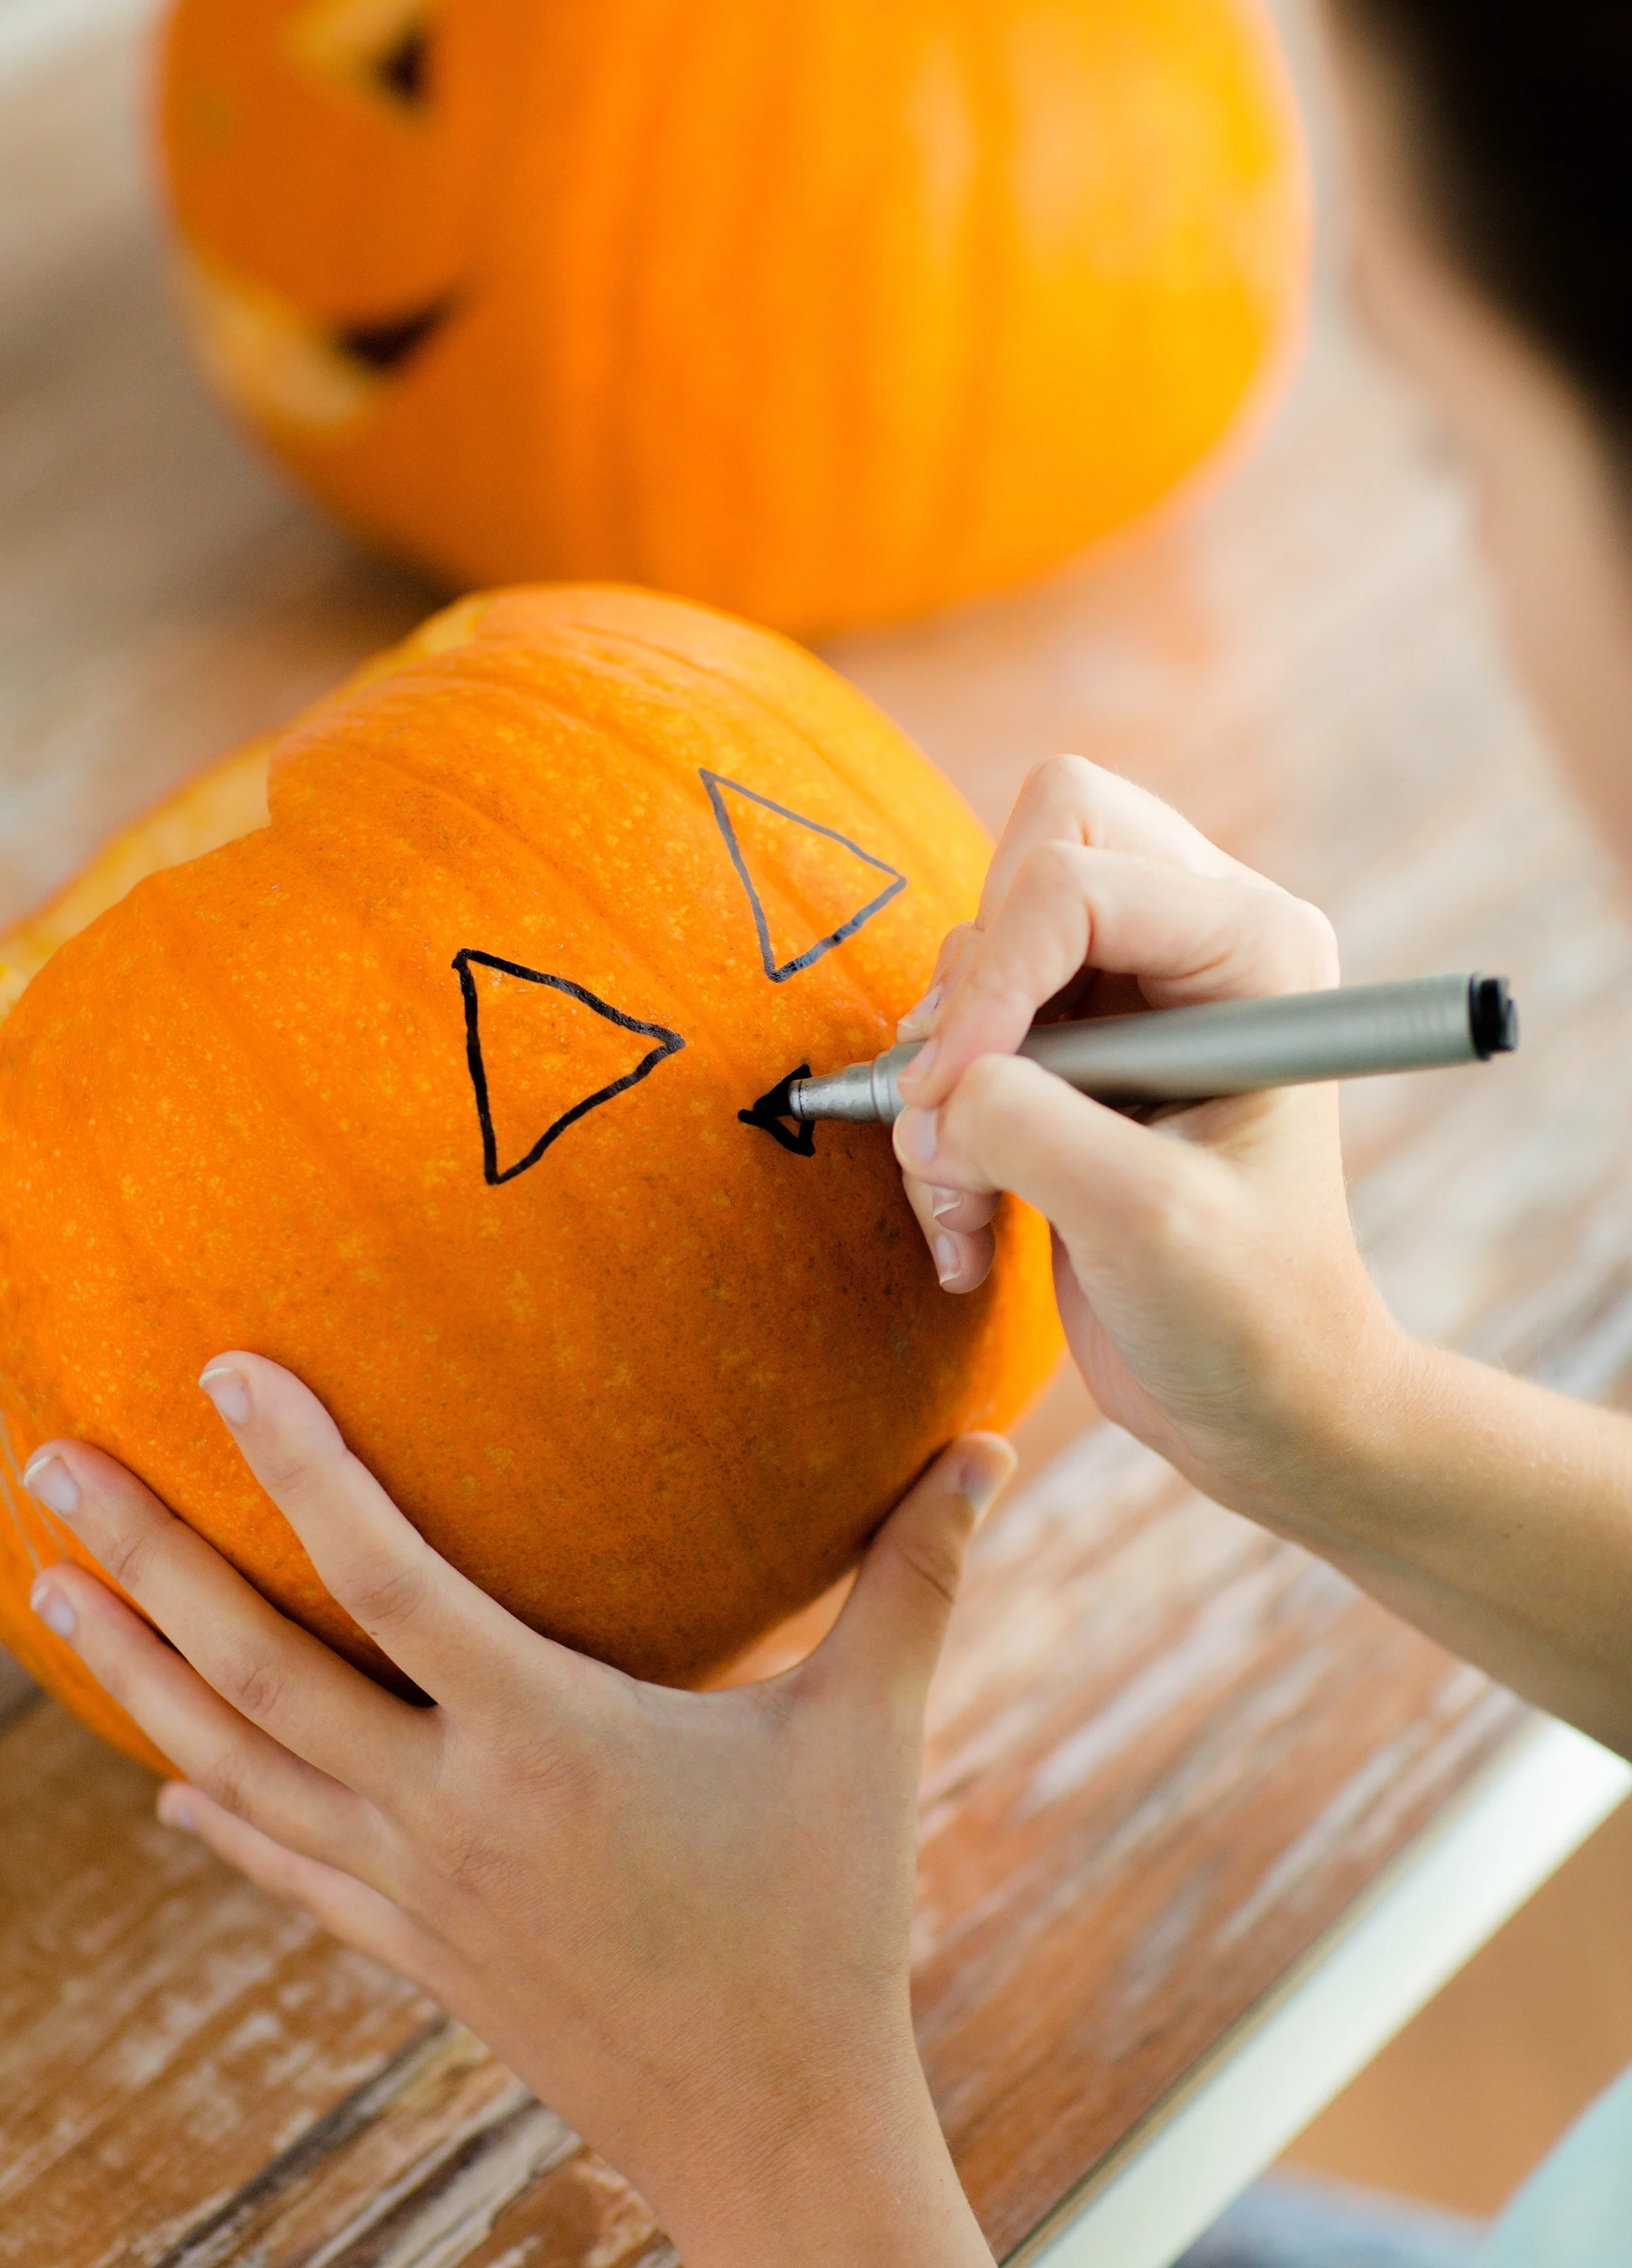
Once you have picked out your perfect pumpkin, it’s time to get creative. If you choose to carve your pumpkin, it is always a good idea to draw out your design on your pumpkin first. When cutting a lid, cut at a 45-degree angle, making sure your lid is big enough to remove pulp. Craft knives, flat head screwdrivers and kitchen knives work well for carving. Making jabs into the pumpkin to create a line works better than sawing. After you have completed carving your pumpkin, you can apply petroleum jelly to the interior of your pumpkin and along the cuts to slow down the deterioration process.
When carving your pumpkin, use safety precautions to prevent injury. Work outside, preferably in the grass instead of on a concrete surface like your driveway or patio. Pulp is slippery and any left behind might cause someone to take a fall. Also, consider using an alternative to candles. Glow sticks or LED lights work well, preventing possible fires.
When you are finished creating your masterpiece, don’t throw out the goods! The inside of your pumpkin can be used to bake up some tasty treats. Pumpkin pancakes, pumpkin cheesecake and pumpkin soup are just a few. Roast up those pumpkin seeds also. They make a great snack for both human and dog.
Happy Fall Y’all!